Key takeaways
- A do-it-yourself check is a screening tool, not a substitute for a professional audit.
- Inspect the building shell and mechanical systems before shopping for large upgrades.
- Record evidence and rank actions; a long unpriced wish list is not a plan.
Know what this assessment can—and cannot—tell you
The U.S. Department of Energy says a careful do-it-yourself assessment can help identify obvious problems and prioritize improvements, but it will not be as thorough as a professional energy assessment. Treat your walk-through as a way to collect clues, not to calculate guaranteed savings.
Do not open electrical panels, enter unsafe crawl spaces, disturb suspected asbestos, climb an unstable ladder, or test combustion equipment without the training and instruments to do so. If you smell gas, see damaged wiring, find active water intrusion, or suspect backdrafting, stop and contact the appropriate qualified professional or utility.
Set up one evidence sheet
Create columns for location, observation, photo number, likely trade, urgency, rough effort, and next question. Add twelve months of utility use if available; dollar totals alone can hide weather and rate changes.
| Priority | Meaning | Example |
|---|---|---|
| 1 — Safety or damage | Act promptly | Gas odor, active leak, overheated outlet |
| 2 — Comfort and high confidence | Low-risk fix with a clear symptom | Visible door gap, missing weatherstripping |
| 3 — Needs diagnosis | Evidence exists, cause is uncertain | One room persistently hot or cold |
| 4 — Optional upgrade | Consider with lifecycle and budget | Appliance replacement before failure |
Walk the building shell first
- 1
Start outside. Note damaged roof edges, gaps where utilities enter, failed caulk, drainage toward the foundation, and exterior doors or windows that do not close squarely.
- 2
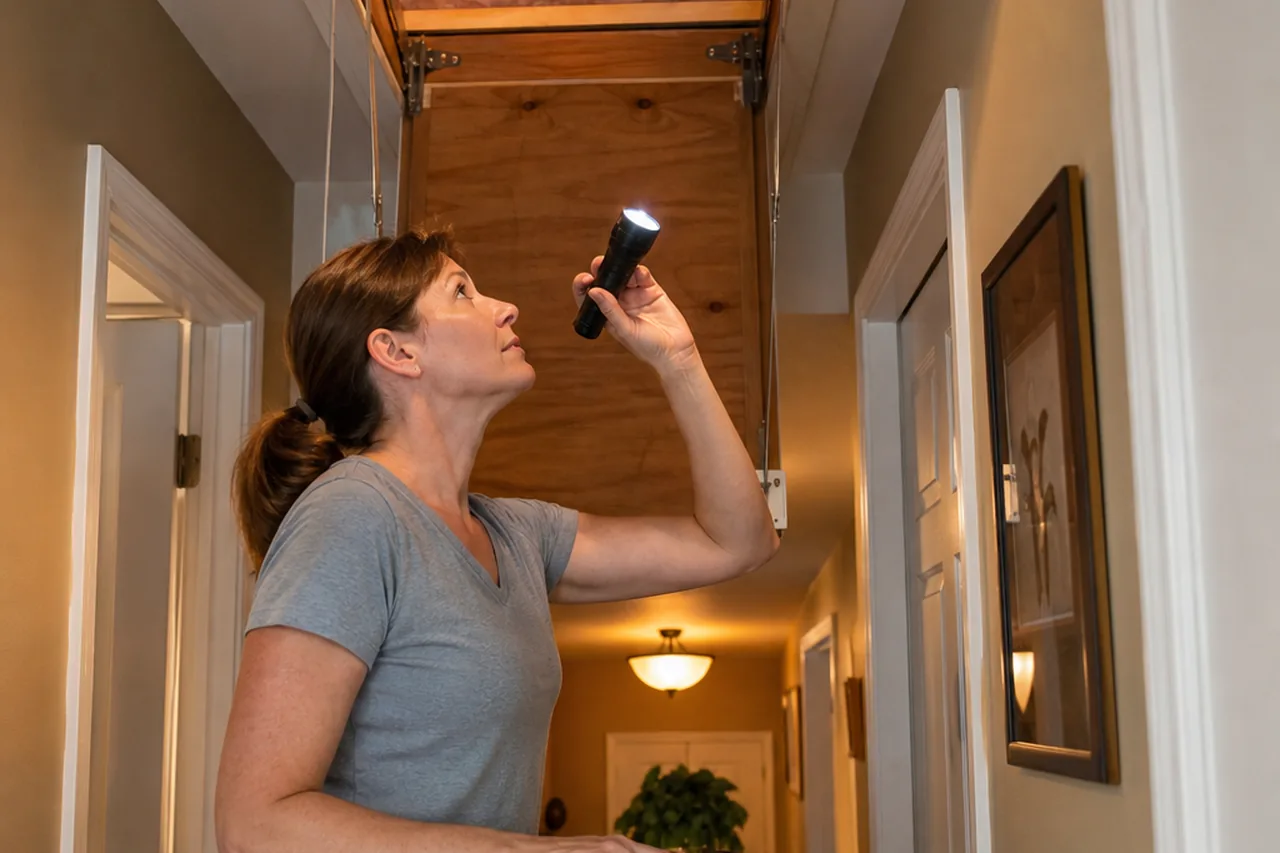
Move indoors on a windy or temperature-different day. Check common leakage points: attic hatches, baseboards, window trim, door edges, recessed lights, plumbing penetrations, and fireplaces.
- 3
Look at accessible insulation without compressing or disturbing it. Record thin areas, gaps, moisture staining, and whether an attic hatch is insulated and sealed.
- 4
Photograph each finding with a wider context shot and a close-up. A contractor can price and diagnose faster when the location is unambiguous.
Tightening a house can affect ventilation and combustion safety. Large air-sealing projects deserve professional guidance, especially where fuel-burning appliances share indoor air.
Review heating, cooling, and hot water
Record the model, approximate age, fuel, service history, thermostat schedule, filter size, and any unusual noise or cycling. The ENERGY STAR maintenance checklist recommends regular filter checks and professional maintenance that includes controls, electrical connections, condensate drainage, and system-specific components.
Look for blocked supply or return vents, disconnected accessible ducts, crushed flexible duct, corrosion, and water around equipment. Do not infer from equipment age alone that replacement is necessary. Comfort problems can also come from air leakage, poor duct distribution, controls, or insulation.
Turn observations into the next three actions
Your finished assessment should fit on a short work list with evidence, owners, and next steps. If every observation becomes an urgent replacement, the assessment has not done enough diagnostic work.
- Do now: safe maintenance and low-cost repairs with clear evidence, such as replacing a dirty filter with the correct type or adding intact weatherstripping.
- Get diagnosed: problems where the symptom is clear but the cause is not, such as uneven temperatures or high fuel use.
- Plan with another project: insulation, ventilation, roofing, siding, windows, and HVAC choices can affect one another. Coordinate them before signing separate contracts.
- Measure later: after a weather-normalized period, compare energy use and comfort notes. Avoid claiming savings from a single lower bill.
Use an observation log, not a shopping list
Record the room or system, date and weather, symptom, visible condition, safe non-invasive check, supporting photo or bill, and next decision. Separate comfort complaints from measured energy use. A cold room may involve air leakage, insulation, duct balance, equipment operation, moisture, or several causes; buying a product before identifying the pathway can hide the evidence without fixing it.
| Priority | Evidence threshold | Next action |
|---|---|---|
| Safe quick check | Repeatable observation with no disassembly | Document and compare across conditions |
| Needs measurement | Cause is plausible but unconfirmed | Request testing or a qualified assessment |
| Stop condition | Combustion, electrical, structural, moisture, asbestos, or code concern | Do not disturb; use an appropriately qualified professional |
At the end of the weekend, rank actions by confidence, safety, reversibility, and expected usefulness—not by the price of the product being promoted. Preserve pre-change observations and utility bills so a later result can be compared against a baseline.
Turn the guide into a record
Use the Home Project Evidence Log
Apply the guide to your own figures without sending or storing the entries.
Open the private worksheetEvidence record
Sources and methodology
We used primary public sources for the factual framework, then wrote and structured this guide independently. Source links on this retained guide were checked on July 27, 2026. The evidence record states how each source was used.
- Consumer Guide to Home Energy AssessmentsU.S. Department of Energy · Used for: Assessment scope and inspection sequence
- HVAC Maintenance ChecklistENERGY STAR · Used for: Heating and cooling maintenance items
- Consumer Guide to Home Heating and CoolingU.S. Department of Energy · Used for: Heating system context
This article is general educational information, not individualized financial, medical, legal, tax, cybersecurity, construction, or career advice.